Minifigures piled in a bin lose value fast, get lost faster, and tell nobody anything about what you actually own. A wall-mounted display frame fixes all three problems at once. From what I've seen in the collector and reseller community, the switch from storage bins to framed displays is usually the moment people start treating their collection like an asset instead of a hobby. This guide covers exactly how to build a DIY LEGO minifigure display frame, which materials hold up over time, and how to keep your display organized as your collection grows. If you want to inventory your collection at the same time, brick'em makes that part fast.
Key takeaways
- Shadow box frames and deep IKEA frames are the most practical starting points for a DIY minifigure wall display.
- LEGO baseplates or brick-compatible foam are the two most reliable mounting surfaces.
- Spacing, depth, and UV protection are the three factors that separate a display that lasts from one that fails.
- Grouping figures by theme, rarity tier, or set dramatically improves both the look and the practical value of the display.
- Knowing exactly what you own, and what it's worth, makes the display more than decorative. It becomes a living inventory.
What kind of frame actually works for LEGO minifigures?
Shadow box frames with at least 1.5 inches of interior depth are the best fit for LEGO minifigures, since a standard figure with accessories stands roughly 1.5 to 2 inches tall. Frames shallower than this will either leave figures sticking out past the glass or force you to remove helmets and hats.
The most common starting point a lot of collectors use is a deep shadow box from a craft store, usually in the 12x16 or 16x20 inch range. These come with a backing board you can customize. IKEA's deeper frame options also work well because they're affordable, come in neutral colors, and the backing board takes adhesive cleanly. The key is interior depth, not overall frame size.
For people who want a more modular approach, there are also purpose-built acrylic display cases designed specifically for minifigures. These work well for a focused showcase of a single theme or a rare series, but they're harder to customize and typically cost more per figure slot than a DIY shadow box.
How do I mount minifigures inside the frame so they stay put?
The two methods that hold up best over time are LEGO baseplates affixed to the backing board, and firm foam board cut with individual slots. Baseplates give you a true LEGO-compatible surface so figures clip in securely and can be rearranged. Foam slots hold tighter but are harder to update once cut.
For the baseplate method: cut a standard green or gray baseplate to fit the frame backing, secure it with strong double-sided tape or a thin bead of craft glue around the perimeter, then press it firmly and let it cure overnight before mounting figures. One 32x32 stud baseplate holds roughly 16 to 25 minifigures depending on how you space them, whether you include accessories, and how much breathing room you want between figures.
For the foam method: dense craft foam or museum-quality foam board works well. Use a hobby knife and a ruler to cut individual rectangular slots sized to grip each figure's leg assembly. This works especially well for CMF figures still on card, or for holding figures at a slight forward angle so their faces are visible. The trade-off is that rearranging later means cutting new slots.
How many minifigures can one frame hold?
A standard 12x16 shadow box with a baseplate backing will hold between 16 and 30 minifigures, depending on spacing and whether any figures have wide accessories like wings, capes, or large weapon builds. A larger 16x20 or 20x24 frame can hold 40 or more.
The practical ceiling isn't always the stud count. Figures with horizontal accessories (lightsabers held sideways, large shields, oversized hats) take up two or three stud widths of horizontal space. A lot of collectors I know leave one stud of gap between each figure as a minimum, both for visual clarity and to make removal easier without knocking adjacent figures off their studs.
If you're displaying a large collection across multiple frames, a consistent grid layout across all frames makes the whole wall feel intentional rather than chaotic. Decide on a frame size and figure spacing before you start, so every frame matches when they hang side by side.
What backing board materials hold up best long-term?
Acid-free foam board or thin plywood are the most durable options for the backing board. Standard cardboard backings that come with store-bought frames tend to warp over time, especially in rooms with humidity fluctuation. Plywood cut to fit gives you a rigid, warp-resistant surface that holds adhesive and screws reliably.
If you want to paint the backing, flat black or dark navy creates the most contrast and makes figures pop visually. Matte paint finishes look better than gloss behind figures because they eliminate distracting reflections. For themed displays, some collectors I know print a custom background image on photo paper and adhere it to the backing before attaching the baseplate. A Star Wars backdrop behind Clone Troopers, a city street behind police and civilian figures, and so on.
| Frame type | Depth needed | Best mounting method | Rearrangeable? | Best for |
|---|---|---|---|---|
| Shadow box (craft store) | 1.5 in or more | Baseplate on backing board | Yes | General collections, themed sets |
| Deep IKEA frame | 1.5 in or more | Baseplate or foam slots | Yes (baseplate) / No (foam) | Budget-friendly, large walls |
| Acrylic display case | Built-in shelf tiers | Standing on shelf pegs | Yes | Rare figs, single-theme showcases |
| Custom brick-built frame | Variable | Native LEGO studs | Yes | Full LEGO aesthetic, modular builds |
| Floating wall shelf with rail | None required | Baseplate strip on shelf | Yes | Frequently updated displays |
Should I use UV-protective glass or acrylic over the frame?
Yes, UV-filtering glazing is worth the upgrade if the display is in a room with natural light. Prolonged UV exposure causes yellowing on white ABS plastic and fading on printed face and torso details. Standard glass or acrylic does not block UV; you need a product specifically rated for UV filtering.
The practical reality is that most ABS plastic yellowing happens slowly over years, not months, so it's not an emergency concern for new figures. But for rare or valuable pieces, the few extra dollars for UV acrylic (which is also lighter and shatter-resistant compared to glass) is cheap insurance. Museum-grade acrylic with UV and anti-reflection coating is the premium option. Standard UV-filtering acrylic from a craft store is the practical middle ground most people use.
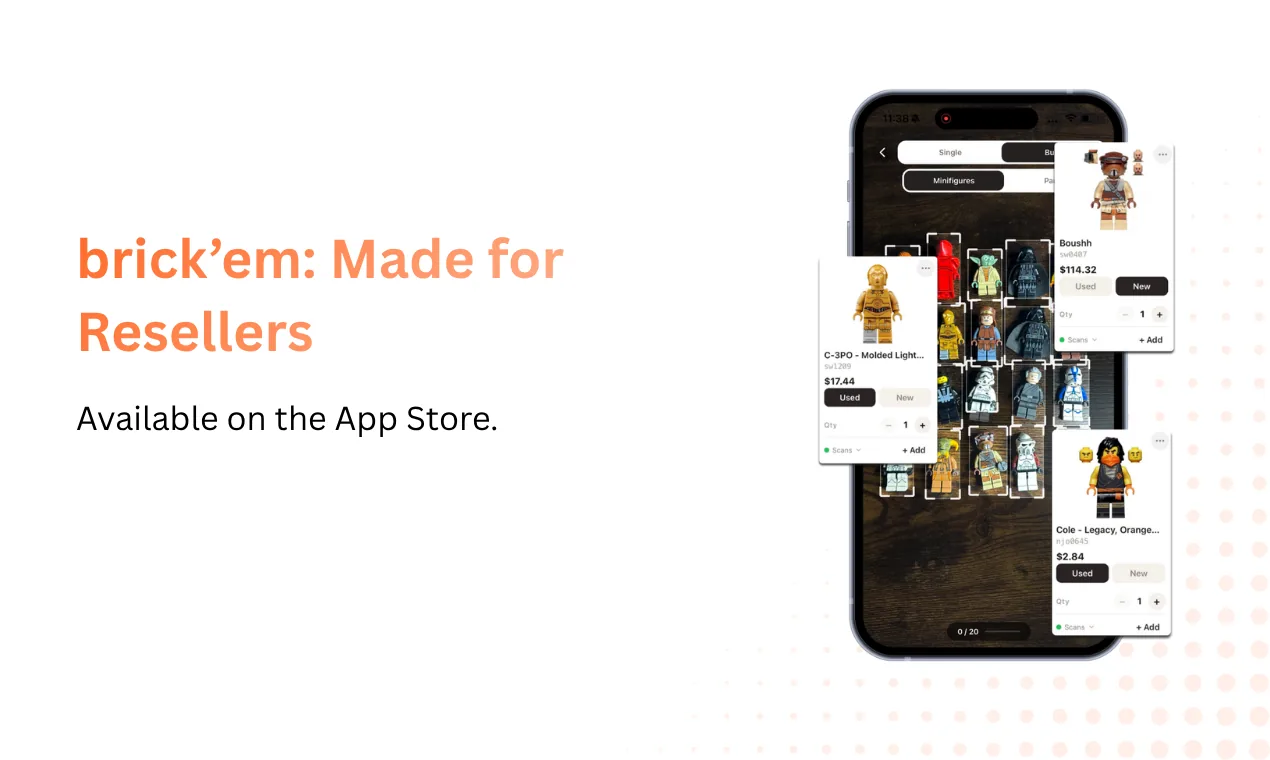
Once your display is up, you'll want to know exactly what's in it and what it's worth. brick'em lets you scan your minifigures with your phone camera, instantly identifies them, and tracks their current market value so your display doubles as a living inventory. Check the LEGO collection value calculator to see what your framed collection is worth right now.
How should I organize the figures inside the display?
The most useful organization schemes are by theme (all Star Wars together, all City together), by rarity or series (CMFs grouped by series number), or by acquisition order if you want the display to tell a story of how your collection grew. Any of these works. The one approach that creates problems is random placement, because it makes the display look cluttered and makes inventory checks difficult.
From what I've seen, theme-based grouping works best for mixed collections because viewers can immediately orient themselves. Rarity-based grouping (common figures in the outer frames, rarer figures in a central or eye-level frame) creates a natural focal point. If you're a reseller displaying inventory in a store or studio, grouping by price tier is the most practical approach because it maps to how customers shop.
Label strips below each row are a small touch that adds a lot of value. A strip of card stock printed with set numbers and figure names, slipped below the baseplate, turns the display into a reference catalog and makes it easy to pull specific figures for a sale.
Common mistakes to avoid
- Choosing a frame that is too shallow. This is the most common error. Always measure your tallest figure before buying a frame, including headgear.
- Using super glue or permanent adhesive directly on figures. This destroys resale value. Use baseplates or removable foam slots so figures can be taken out clean.
- Overloading the backing board. A heavy baseplate plus 40 figures plus the glass adds real weight. Use proper wall anchors, not just a single picture nail.
- No UV protection in a sunny room. Printed face details on valuable figures will fade within a few years in direct or indirect sunlight without UV glazing.
- Building the display before inventorying your collection. If you don't know exactly what you own, you'll reorganize the display multiple times as you discover duplicates, find missing figures, or realize a theme is incomplete. Inventory first, then display.
- No spacing between figures. Figures packed stud-to-stud look crowded and are difficult to remove without knocking neighbors off. Leave at least one stud gap per figure.
Frequently Asked Questions
Can I display LEGO minifigures still in their packaging inside a frame?
Yes, and a lot of collectors prefer it for rare or valuable CMFs. Sealed figures in packaging can be mounted with small foam tabs or adhesive strips on the back of the packaging card. A deeper shadow box is essential here since packaged figures are thicker than loose ones. Keep sealed figures out of direct light to preserve the packaging condition.
What is the easiest DIY option for someone just starting out?
The lowest-effort starting point is a shadow box from a craft store, a small LEGO baseplate cut or sized to fit the backing, and double-sided mounting tape. Total cost is usually well under $20 for a frame that holds 16 to 20 figures. You do not need any specialized tools beyond scissors and a ruler.
How do I keep dust off minifigures in an open display?
Closed frames with glass or acrylic fronts are the best dust barrier. For open shelf displays, a light pass with a soft artist's brush or a can of compressed air every few weeks prevents buildup. Microfiber cloths work for wiping ABS plastic surfaces without scratching. Avoid wet cleaning on printed faces since repeated moisture can lift the printing over time.
Does displaying minifigures affect their resale value?
Displayed figures that have been removed from packaging and handled will typically grade lower than mint-in-bag examples. That said, figures displayed on studs in a clean, UV-protected frame with no paint or glue contact usually remain in very good to near-mint condition and retain strong resale value. The key is keeping the display conditions clean and avoiding anything irreversible like glue or modification.
How do I track which minifigures I have displayed versus in storage?
The cleanest way is a dedicated inventory app. Scan each figure when you put it in the frame, tag it as "displayed", and the app maintains the record. This is especially useful when your collection spans multiple frames, multiple rooms, or both display and storage bins. Check the LEGO minifigure database to look up figure IDs, or use brick'em to scan and log figures directly from your phone.
.png)